Adding Gryphon to an existing app
Note: This guide assumes a certain level of familiarity with the iOS and Android ecosystem; for a more beginner-friendly introduction, check out Translating a new iOS app to Android. This guide also focuses on Xcode integration, which is only available on macOS; however, Linux and Docker users might still find important information here that they can use with the command line interface.
- Setting up the project
- Adding the libraries
- Setting up the shared files
- Adapting the shared files
- Building the Android app with Xcode
Step 1: Setting up the project
Start by navigating to your iOS app’s directory and running gryphon init:
$ gryphon init myAwesomeiOSApp.xcodeproj/
If your Xcode project has more than one target that compiles Swift code, it might be necessary to specify the target you want Gryphon to translate:
$ gryphon init myAwesomeiOSApp.xcodeproj/ --target=<target name>
It is important to call gryphon init in the folder that contains the Xcode project, otherwise the new Xcode targets might not work.
Step 2: Adding the libraries
Gryphon uses two library files for its translations: one for the iOS app, and one for the Android app. You can generate them by running:
$ gryphon generate-libraries
The two files will be created in the current directory. Add the GryphonSwiftLibrary.swift file to the iOS app by dragging it to Xcode, and add the GryphonKotlinLibrary.kt file to the Android app by dragging it to Android Studio.
Then, replace the placeholder package statement at the beginning of the GryphonKotlinLibrary.kt file with your app’s package identifier.
package com.example.myawesomeandroidapp
Make sure both files are being compiled in their respective apps - files translated with Gryphon will need access to their code.
Step 3: Setting up the shared files
Start by selecting which of your app’s files you want to translate. It’s likely the selected files will need to be adapted to be used with Gryphon, so it’s recommended you start with only a few files and increase their number gradually.
You can also choose not to translate some parts of a file by commenting declarations with // gryphon ignore:
// gryphon ignore
class MyClass {
	// ...
}
Any declarations marked with this comment will not be translated. This works for most supported declarations, such as extensions, protocols, functions, etc. Just make sure the comment goes before the declaration. For more information, check out the translation comments guide.
Once you decide which files will be translated, add them to the new gryphonInputFiles.xcfilelist file, separated by newlines:
MyAwesomeiOSApp/SharedFile.swift
MyAwesomeiOSApp/AnotherSharedFile.swift
...
Now open each of these files and add a // gryphon output: comment saying where you want its Kotlin translation to be placed. Note that the paths should be relative to the location of the Xcode project, not the location of the files themselves.
// gryphon output: ../MyAwesomeAndroidApp/app/src/main/java/com/example/myawesomeandroidapp/SharedFile.kt
You might also want to add a package statement to the start of each file using a gryphon insert comment:
// gryphon insert: package com.example.myawesomeandroidapp
Step 4: Adapting the shared files
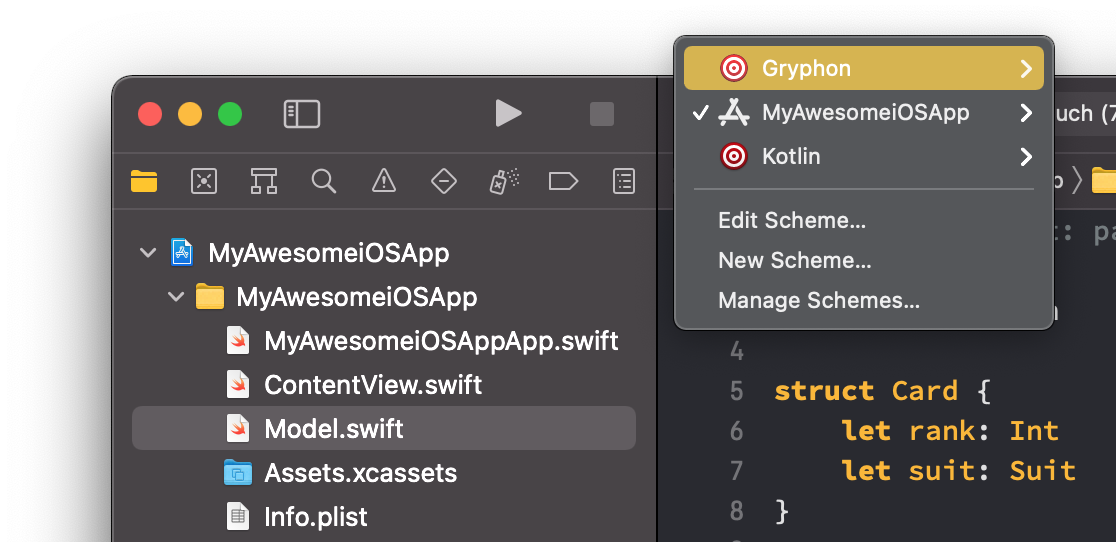
Switch to the Gryphon target and hit build (⌘+B).
Gryphon will probably raise some warnings. It’s recommended that you fix these warnings, as they usually indicate potential bugs in the translations. If you have problems, try reading the guides on translation comments, templates and collections for more information.
A few tips to handle common warnings:
-
⚠️ Reference to standard library was not translated: This usually refers to a standard library feature that’s being used but that Gryphon doesn’t yet know how to translate. Use a
// gryphon valuetranslation comment or a template to specify a translation manually. -
⚠️ Native type Array/Dictionary can lead to different behavior in Kotlin: Use
ListsandMutableListsinstead of Swift’sArrays, and useMapsandMutableMapsinstead of Swift’sDictionaries. These classes have the same API as their Swift counterparts, but they’re passed by reference, so they’ll have the same behavior as the Kotlin translations. For more information, read the collections guide or check out their implementation in theGryphonSwiftLibrary.swiftfile. -
⚠️ If condition may have side effects: Statements like “
if let foo = bar()” can cause unintended side-effects in Kotlin. If you know that the function being called doesn’t have any side-effects, you can mark its declaration with// gryphon pureto silence this warning. Otherwise, try refactoring try refactoring your code so that the function call is the first condition of the if statement. You can read more details on this issue in the documentation. -
⚠️ No support for mutable variables/mutating methods in value types: Value types in Swift are translated as classes in Kotlin, which are passed by reference. This can lead to bugs when the value types have mutable members. You can try making the types immutable - that is, changing
vartoletand removing themutatingmodifiers from functions. Forstructs, you can also try turning them intoclasses. -
⚠️ Double optionals may behave differently in Kotlin: Some Swift expressions can have types like
Int??, with two (or more) optionals. These types are treated differently in Kotlin, which can lead to bugs. If you can’t find the double optional in an expression, try breaking it up into smaller parts. Then, try using anif letor aguard letto unwrap the optional before it gets doubled.
If you know the code is being translated correctly, you can also mute any warning with a // gryphon mute comment.
Step 5: Building the Android app with Xcode
On Xcode, click on your Xcode project in the navigator, then click on the new Kotlin target. Open its Build Settings and search for a setting called ANDROID_ROOT. Change its value so that it points to your Android app’s directory - specifically, the directory containing your gradlew file. This path should be relative to the location of the Xcode project.
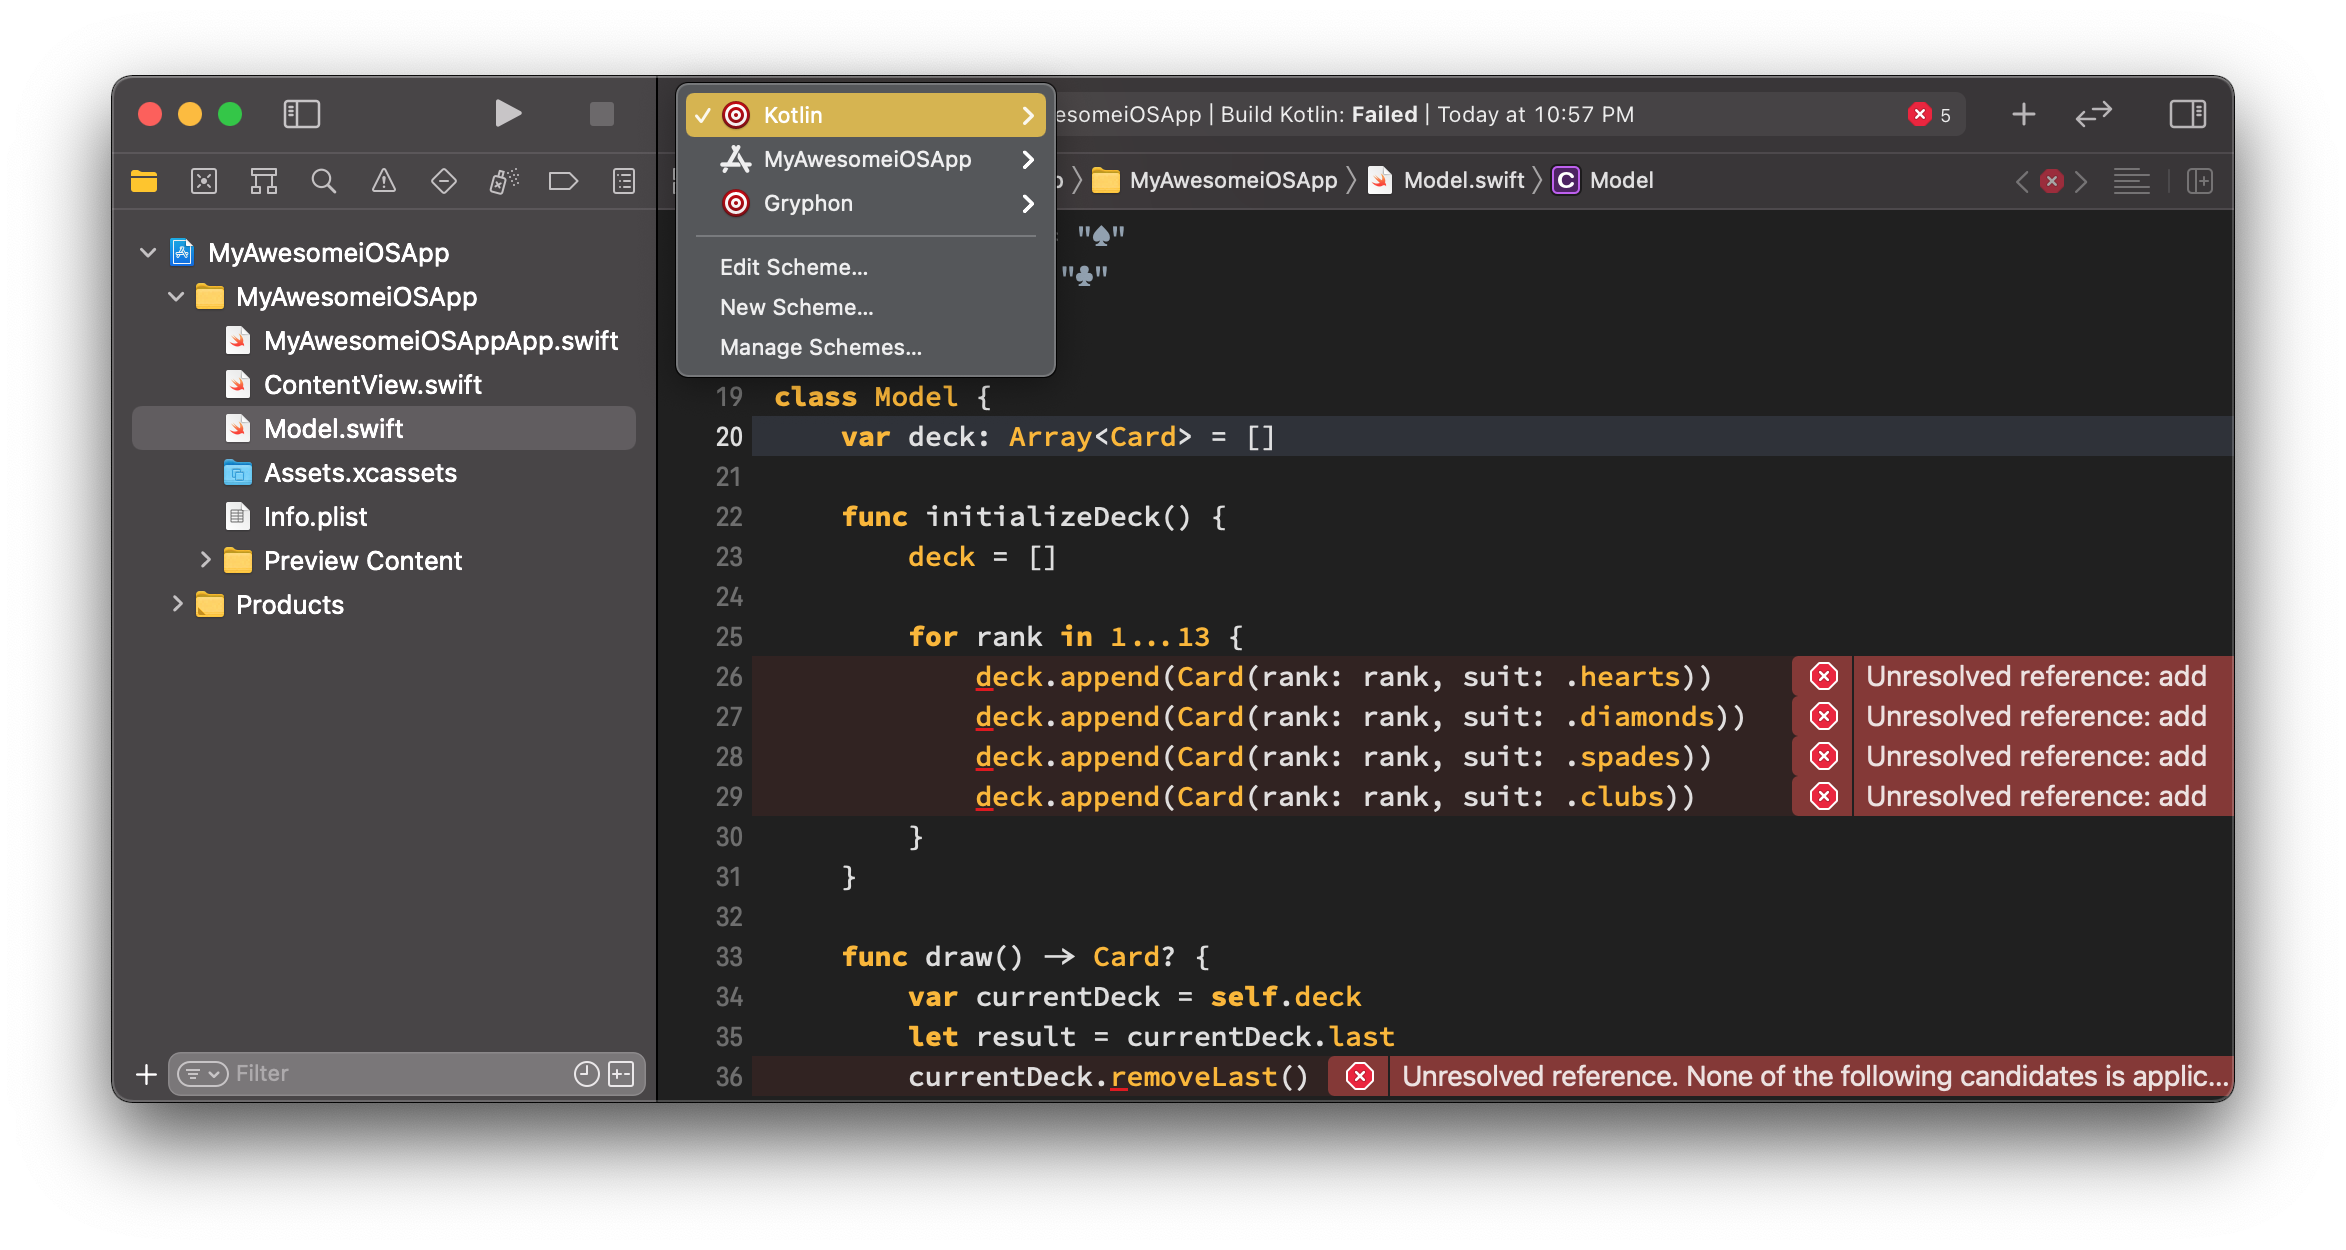
Once that’s done, you can switch to the Kotlin target and hit build (⌘+B). Xcode will compile your Android app and show any Kotlin warnings or errors in the Swift lines that originated them, so you can solve the issues at the source.